


Key Takeaways
- Inspect every window before deciding what needs replacement.
- Compare repairs, glass replacement, inserts, and full-frame options carefully.
- Choose windows based on comfort, ventilation, maintenance, appearance, and energy performance.
- Request detailed estimates that clearly separate materials, labor, repairs, permits, and cleanup.
- Inspect the finished work before the installation crew leaves.
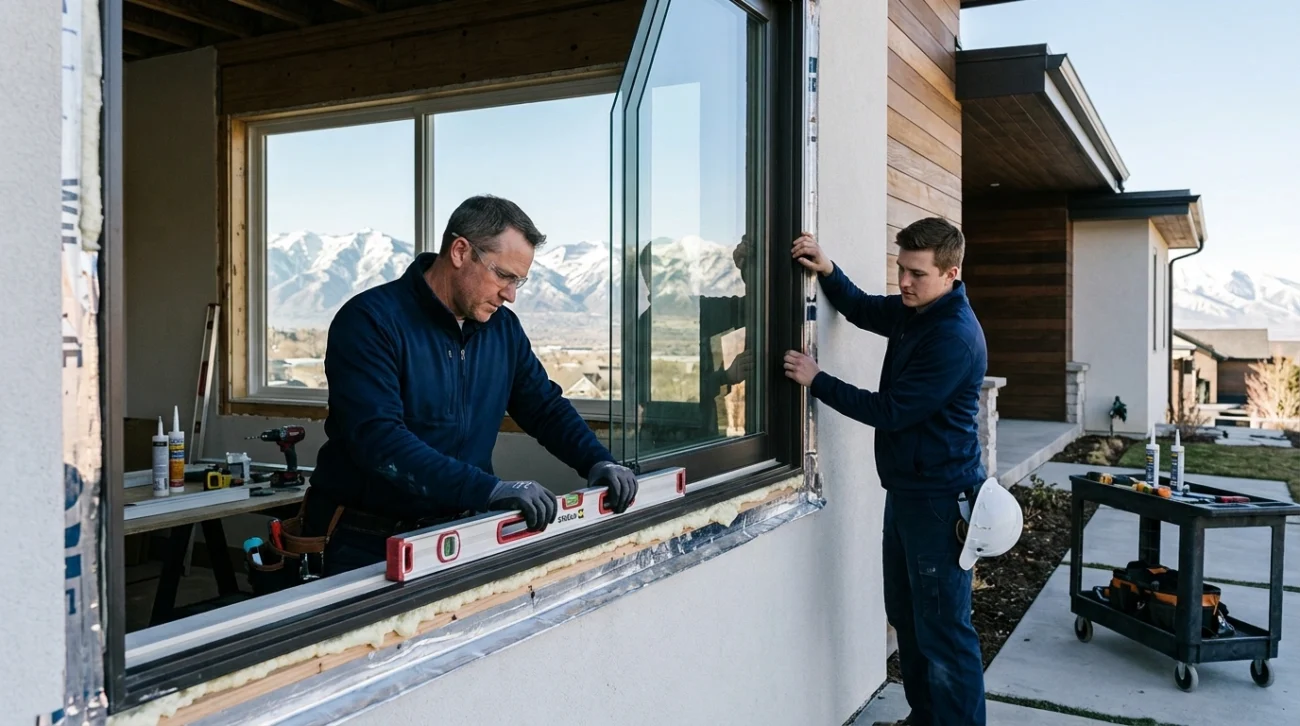
Window replacement can improve comfort, reduce drafts, brighten rooms, and make everyday operation easier. Still, it is not a project to approach by choosing a frame color and accepting the first estimate. Homeowners who consider window replacement in Salt Lake City should begin by assessing the condition of their existing windows, the local climate, and the home’s long-term needs. A leaking window may seem like an isolated problem until removal reveals soft trim, a damaged sill, or water staining around the opening. A thoughtful plan identifies those risks early. It also helps homeowners separate urgent repairs from upgrades that can be scheduled in phases.
Why Window Replacement Requires Careful Planning
Windows affect more than a home’s exterior appearance. They influence indoor temperatures, daylight, fresh-air ventilation, exterior noise, cleaning routines, and the way furniture can be arranged in a room. The right project balances immediate concerns, such as water intrusion or broken glass, with longer-term goals like lower maintenance and improved efficiency. Start by deciding what success looks like. For one household, the priority may be eliminating a cold draft near the living room sofa. For another, it may be creating a safer bedroom egress, reducing street noise, or replacing deteriorated wood frames before the damage spreads.
Step One: Inspect Existing Windows Room by Room
Before calling installers, walk through the home and record the condition of every window. Label the room, window type, approximate size, and any visible problems. Photos are useful when comparing estimates later.
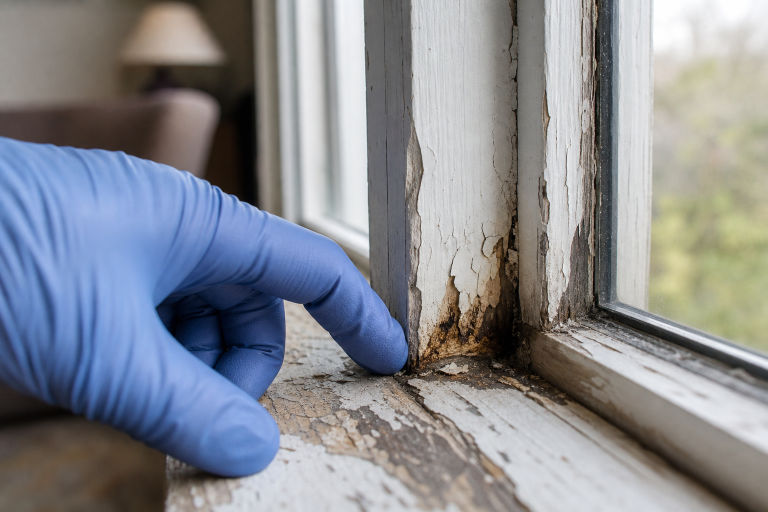
- Check glass, frames, sills, and trim for cracks, rot, warping, or peeling finishes.
- Look for fogging or moisture between panes, which can indicate a failed insulated-glass seal.
- Open, close, lock, and unlock each unit. Note windows that stick, will not stay open, or fail to latch.
- Feel for drafts around the sash, frame, and interior trim on a windy day.
- Watch for staining, bubbling paint, mildew, or soft materials that could point to water entry.
- Identify rooms that are unusually hot, cold, humid, or noisy.
Step Two: Decide Whether Repair Is Enough
Not every problem requires a full replacement. Worn weatherstripping, loose hardware, damaged screens, minor trim issues, and some failed seals may be repairable. In certain cases, glass-only replacement can make sense when the frame and surrounding opening remain sound. Replacement becomes more practical when a window has repeated leaks, significant decay, broken operation, extensive frame damage, or several performance issues at once. Persistent moisture deserves special attention because repairing only the visible surface can leave hidden wall damage unresolved.
Step Three: Set Clear Project Goals
A list of priorities keeps the shopping process focused. Attractive upgrades are easier to judge when they support a specific need.
- Comfort: Reduce drafts and uneven temperatures near windows.
- Energy performance: Limit unwanted heat loss, heat gain, and air leakage.
- Ventilation: Improve airflow in bedrooms, kitchens, and common areas.
- Noise control: Reduce traffic, neighborhood, or mechanical sounds.
- Maintenance: Simplify cleaning, operation, and long-term upkeep.
- Appearance: Complement the home’s architecture instead of following a short-lived trend.
Step Four: Compare Styles, Frames, and Glass
Double-hung and single-hung windows are familiar options for many traditional homes. Sliding windows work well where a sash should move sideways, while casement and awning units can provide strong ventilation. Picture windows maximize views and daylight but do not open. Bay, bow, and specialty-shaped windows can change the look of a room, although they often require more planning and a larger budget. Frame materials also involve tradeoffs. Vinyl is generally low maintenance. Fiberglass is valued for its strength and stability. Wood offers a traditional appearance but may require more upkeep. Aluminum can be durable and slim-profiled, while composite products may combine selected benefits of multiple materials. The best choice depends on the opening, local conditions, desired appearance, and budget.
Step Five: Read Energy Labels Without Getting Lost in Jargon
Energy labels make product comparisons more meaningful. Window performance guidance for different climate zones can help homeowners compare ratings suited to their location, rather than relying on a one-size-fits-all claim.
- U-factor: Measures resistance to heat loss. Lower numbers generally indicate better insulation.
- Solar Heat Gain Coefficient: Shows how much solar heat passes through the glazing. Lower values block more solar heat.
- Visible Transmittance: Indicates how much daylight enters the room.
- Air leakage: Helps show how tightly the product is sealed.
- Low-emissivity glass: Uses a thin coating to manage heat transfer while allowing useful light inside.
Ratings matter, but installation quality, wall condition, shading, and window orientation also affect real-world performance. A highly rated window cannot compensate for poor flashing or gaps around the opening.
Step Six: Build a Realistic Budget
Ask for itemized estimates rather than comparing only a final price. The proposal should identify the windows, labor, interior and exterior trim, permits, disposal, delivery, cleanup, finishing work, taxes, and any expected repairs. Larger openings, custom shapes, difficult access, structural damage, and upgraded glass packages can all increase the total. Replacing every window at once may reduce repeat setup costs, but a phased plan can be sensible when only a few windows have urgent problems. If the home was built before 1978, ask how the installer will follow lead-safe work practices for disturbed painted surfaces during removal and cleanup.
Step Seven: Compare Contractors With Better Questions
- Who will measure the openings, and who will perform the installation?
- How will the opening be flashed and protected from water intrusion?
- What happens if hidden sill, framing, or trim damage is found?
- Which permits, inspections, or association approvals are required?
- What do the product and labor warranties cover?
- Who handles the disposal, cleanup, and restoration of interior and exterior finishes?
- What payment schedule and project timeline apply?
Step Eight: Prepare for Installation and Final Walk-Through
Before installation day, remove curtains, blinds, screens, and fragile items near each opening. Move furniture away from windows, protect floors and nearby belongings, clear outdoor access routes, and keep children and pets out of active work areas. Notify the security provider if window alarms need to be disconnected. Before the crew leaves, open and close every window, test all locks, inspect screens and hardware, and look closely for scratches, gaps, cracked trim, or unfinished sealant. Collect warranties, care instructions, invoices, and inspection documents. Photograph the completed work and document anything requiring follow-up.
Common Questions Homeowners Ask
Should all windows be replaced at once?
Not necessarily. Completing the project in one phase can simplify scheduling, but replacing the most damaged or least efficient windows first may better fit the budget.
Is a full-frame replacement better than an insert?
Neither approach is automatically better. The right choice depends on the condition of the existing frame, sill, trim, and surrounding wall.
Can new windows eliminate high energy bills?
New windows may improve comfort and reduce energy waste, but insulation, air sealing, HVAC performance, shading, and household habits also influence utility costs.
Conclusion: Plan for Performance, Not Just Appearance
A successful window project begins with a careful inspection and ends with a detailed final walk-through, with thoughtful planning and clear communication connecting every step in between. Homeowners should evaluate the condition of existing frames, identify drafts, moisture problems, damaged seals, and ventilation needs, and then compare glass ratings, frame materials, styles, warranties, and installation methods. The best option is not always the lowest estimate or the most expensive product. Instead, it is the window and installation plan that addresses the home’s real problems, fits the property’s design and budget, meets applicable requirements, and provides dependable comfort, energy performance, weather resistance, and durability. Taking time to review the complete scope of work, ask questions, and inspect the finished installation can help prevent avoidable problems and ensure the investment continues delivering reliable performance for years to come.
